

Scheduled tab
The Scheduled tab of the Reports screen sends a saved report to a list of recipients on a repeating timetable. It’s how stakeholders get the numbers without signing in to Testver.
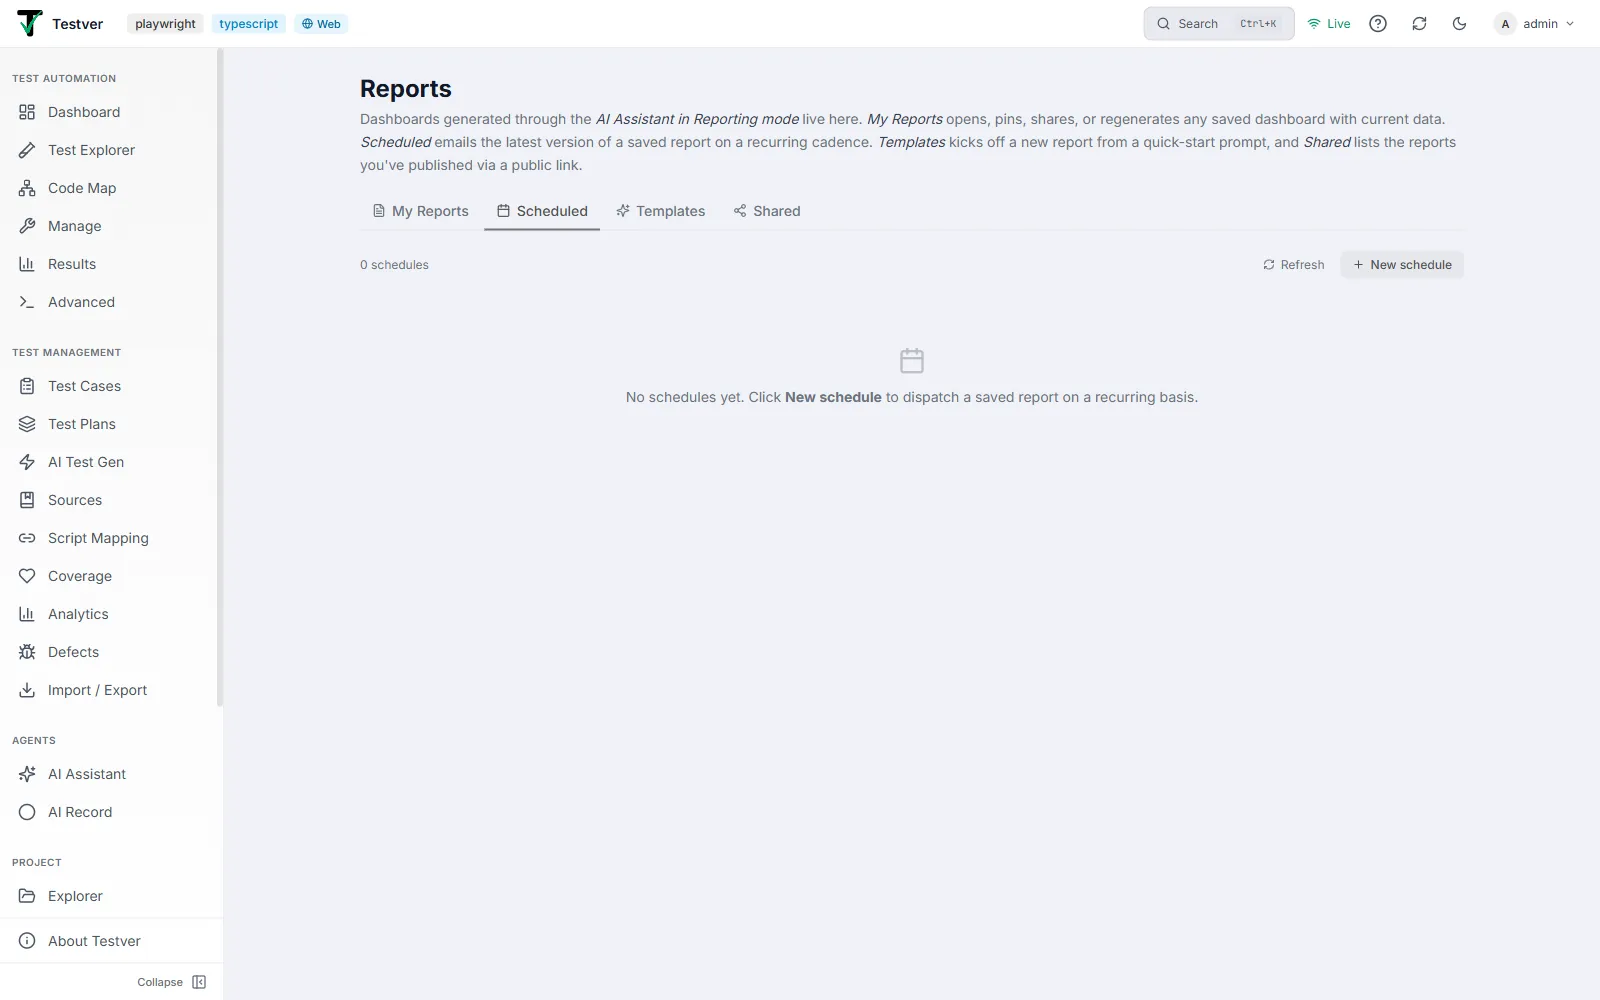
The schedule table
Section titled “The schedule table”Each row is one recurring dispatch job:
| Column | What it shows |
|---|---|
| Report | The saved report being sent. |
| Schedule | The cron timing, in human-readable form. |
| Format | HTML or XLSX — the file recipients receive. |
| Recipients | Who it goes to. |
| Last run | When it last dispatched. |
| Enabled | A toggle to pause a schedule without deleting it. |
| Actions | Run now (Play icon) sends immediately, plus edit and delete. |
A Refresh button re-reads the list, and New schedule opens the dialog.
Creating a schedule
Section titled “Creating a schedule”- Open the Scheduled tab and click New schedule.
- Pick the source report — it must already be saved in My Reports.
- Set the timing with the cron builder — the same one used by Advanced → Schedules and suite schedules.
- Choose the format: HTML or XLSX.
- Enter the recipients.
- Save. The job appears in the table and fires on its own from then on.
Related
Section titled “Related”- Reports overview — the screen and its four tabs.
- My Reports tab — where the source report must be saved first.
- Advanced → Schedules — scheduling a test run rather than a report.
- Connectors — the email configuration that delivery depends on.